
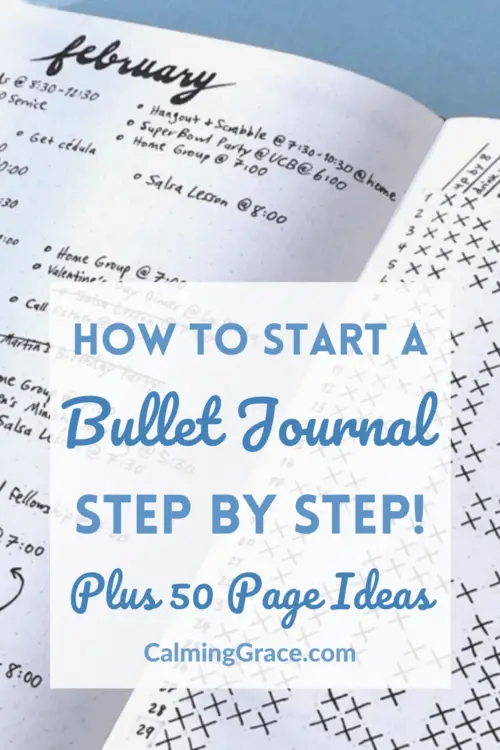
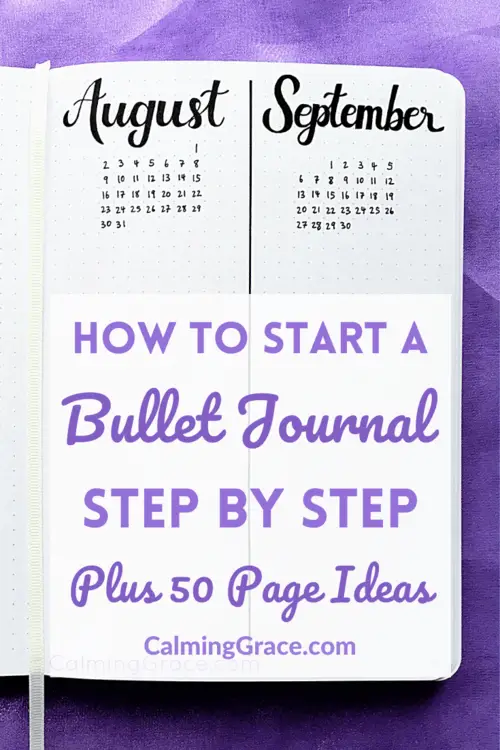
Do you want to start a Bullet Journal? If so, you might be asking: How do I set it up? What are the pages I need? In this article you’ll find everything you need to know about how to start your Bullet Journal, with all the different types of pages you should include.
Bullet Journaling is a system designed to encourage mindful, intentional living, and these pages provide the structure. Ryder Carroll, creator of the Bullet Journal method, outlines a specific framework of pages to use in your Bullet Journal (Source).
So let’s jump in! Here are the pages we’ll discuss, in the step-by-step order that you should use them in your Bullet Journal:
- The Key and the Index
- The Future Log
- The Monthly Log
- The Weekly and Daily Logs
- Collections (Plus 50 Collection Ideas!)
This article contains affiliate links. As an Amazon Associate I earn from qualifying purchases. If you buy something using the links, I may earn a commission at no extra cost to you. Read the full affiliate disclosure.
The Key and the Index
Before you start, make sure the pages of your Bullet Journal are numbered. You can number them yourself as you go, or buy one with pre-numbered pages. Many notebooks sold as Bullet Journals today already have page numbers printed in the bottom corners of the pages.
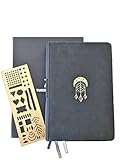
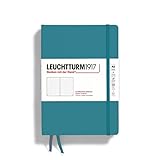
If you’re not sure which notebook to start with, these are my recommendations. I’ve personally tried the Scribbles That Matter and Tumbitri Meri Bullet Journals, and they are both very high quality:
My Picks: High-Quality Bullet Journals With Pre-Numbered Pages


Key
On Page 1 of your new journal you’ll create your Key. This is where you list the types of bullets you use in your Bullet Journal: Tasks, Events, Notes, and custom bullets. Read my article, What are the “bullets” in a Bullet Journal? for more details on the different bullets, and a step-by-step explanation of how to put them together in your Key!
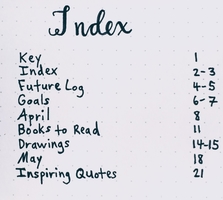
Index
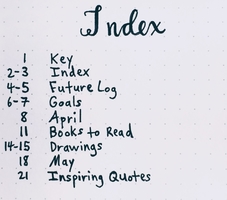
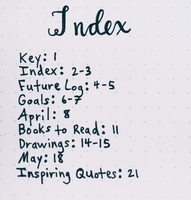
Then, on Page 2, or the next new spread, you’ll create your Index. The Index is the “Table of Contents” of your Bullet Journal, and it’s a bird’s-eye view of what’s in your journal. When you look at the Index, you’ll be able to quickly scan down, find a topic, and flip to the page number that it’s on.
To create your Index, simply start with the first page, go in page number order, and write down the topic of each page and its page number. There are a lot of different layouts or designs you can use. Here are three examples of possible layouts:
As you keep creating new pages in your Bullet Journal, add them to your Index. Then you’ll always be able to look back and easily find everything.
For me personally, discovering the “Index” idea of Bullet Journaling was revolutionary! I’ve been keeping journals since I was 10 years old (yes, really), but in all my journals filled with all my thoughts, memories, and prayers, I never considered indexing my entries. If I wanted to find a specific entry, I’d have to flip through all the pages looking for it. So, the Index is really helpful for knowing where things are in your journal!
The Future Log
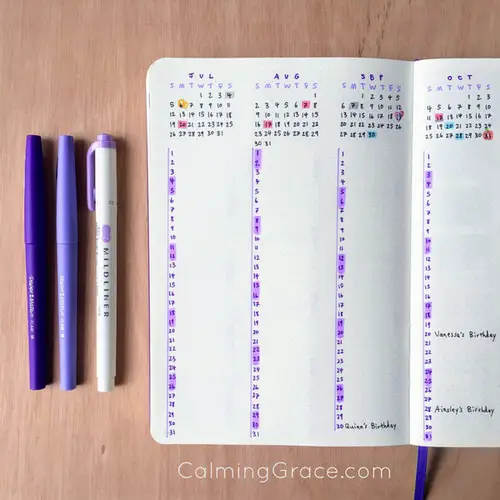
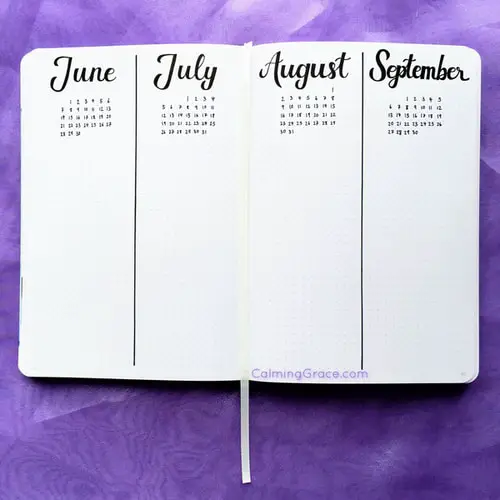
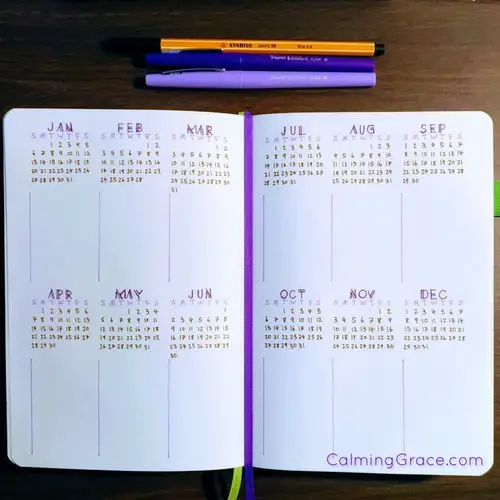
The first page that comes after your Index is the Future Log. The Future Log is similar to a calendar, but it’s more than just that: it’s also a place to track your future plans. There are a lot of different possible designs for the Future Log, but the key is that you have a space for each future month. In these spaces, you can quickly jot down events planned for future dates.
Make a section for each coming month, either for the next 4, 6, or 12 months, depending on how far ahead you want to be able to plan. Try making your Future Log with plenty of space to write under each month. Here are some design ideas:
For more inspiration, check out my collection of Future Log design ideas on Pinterest:
You can use your Future Log in any way that works for you, but the main use is to track future plans. Maybe you have plans to travel in 5 months, for example, in September. So, write the dates that you’re going to travel. Or, your friend’s birthday is in June and you really don’t want to forget it! So, make a note of the birthday in June’s section of your Future Log.
The Future Log also works great for project planning! If you’re working on a long-term project with a lot of different tasks, you can schedule some tasks ahead of time for future months. Then, you’ll know which tasks you should be working on right now, and which ones are coming up later.
Learn more about how to use the Future Log in the most effective way in my free 5-day email course:
By the way: It’s a myth that you have to start a Bullet Journal at the beginning of the year! Sure, lots of people like to start one in January as part of a new year’s resolution to get more organized. But if you want to get more organized and live intentionally NOW, then start your Bullet Journal now, no matter what month or day it is!
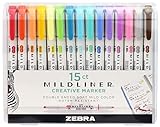
These are my favorite supplies for adding bursts of color to make my Future Log more than just a calendar:


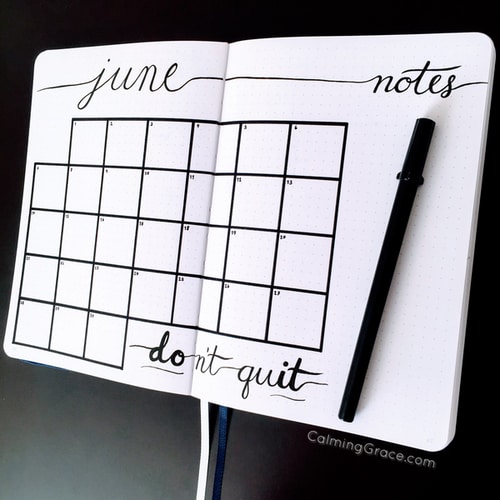
The Monthly Log
After your Future Log, you can jump right in to the current month with the Monthly Log. This is where you will track upcoming events and tasks that you need to complete in the current month, and this is where using your Bullet Journal as a comprehensive life organization system really kicks in.
The most basic structure for the Monthly Log is a 2-page spread with a calendar on the first page, and a task list on the next page.
Monthly Calendar Page
The calendar is a list of dates, written vertically, with one day on each line. You can indicate the days of the week or highlight the weekends in a different color. On this calendar page, you’ll be able to quickly jot down events and tasks that are particular to specific days.
Monthly Task Page
On the 2nd page of the spread, you can write a task list for the month. This is where you track your priorities for the month, the tasks you need to do, and anything you didn’t complete last month that’s still relevant. (Note: On this page you’ll mostly use the Task and Note bullets. But for Events, record them on the calendar page.)
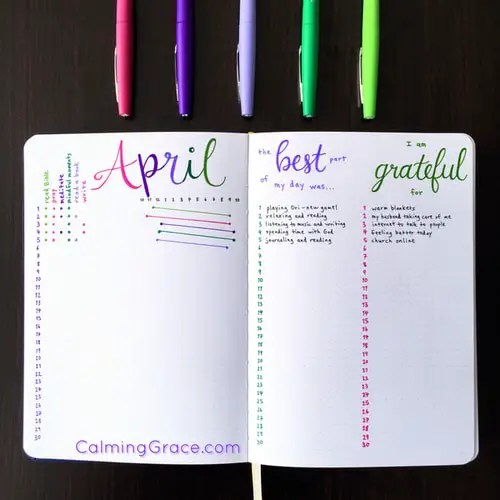
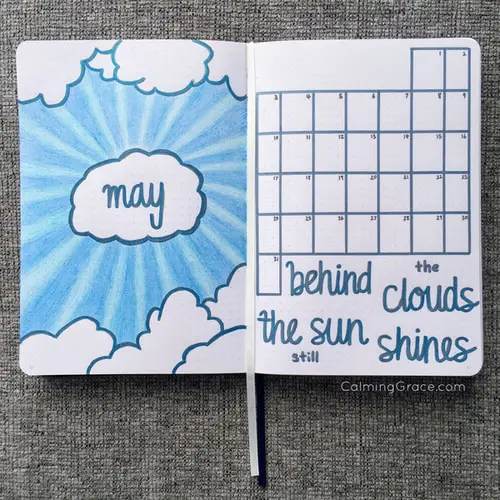
That’s the basic structure of the Monthly Log, but there are a lot of different possibilities for you to customize your Monthly Log. I like using a monthly habit and goal tracker, and a gratitude log, along with a miscellaneous task list. You can design your Monthly Log however it works for you and your needs! Here are some more Monthly Log design ideas:
The Weekly and Daily Logs
Once you’ve got your Monthly Log set up, you’re ready to start with Weekly and Daily Logs. Interestingly, Weekly Logs (also called Weekly Spreads) are not actually part of the original Bullet Journal guidelines, but many Bullet Journalers use them to keep their Daily Logs neatly organized.
Weekly Spreads
You should make your Weekly Log/Weekly Spread at the beginning of each week. It uses a 2-page spread and has a space for each of the seven days of the week. You can treat the space for each day as a space for the Daily Log.
Your Weekly Spread can also include spaces for habit trackers, notes, lists, or anything else you want. There are infinite possibilities for designing your Weekly Spread! Here is one of my more minimalist Weekly Spreads. It has a space for each day, and space for this week’s and next week’s tasks and plans:
Need more ideas for your Weekly Spread? Follow my Pinterest board with a curated collection of beautiful, clean Weekly Spread ideas:
Daily Logs
If you want to follow the original Bullet Journal guidelines, which don’t include a Weekly Spread, you can just jump in to your Daily Logs right after the Monthly Log. Many Bullet Journalists consider this more practical, since you can take up as much space as you need to for each day, without being constricted by the small space for each day in the Weekly Spread.
To start, write today’s date on the first line, and simply track all the ideas, notes, tasks, and events that come up in the day. Use Rapid Logging to quickly “brain dump” the things you need to do and other ideas from the day. This is the space where the “bullets” of the Bullet Journal are truly put to use. Here’s an example of how your Daily Log might look:
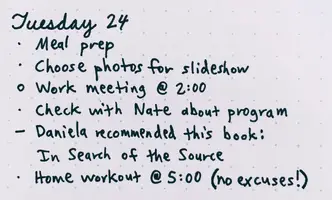
If you aren’t using a Weekly Spread, you can use as much space as you need for each Daily Log. Then, start a new one the next day by skipping a line and continuing on the same page.
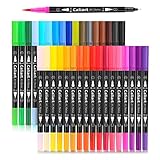
Need a good quality black pen for recording your tasks and events in your Daily Logs? Try one of these:
Fine-Tip Black Pens for Bullet Journaling


Collections
We’ve covered all the basic, essential pages of the Bullet Journal system. So now, we can create our own, customized pages, which are called Collections. The Collection is any kind of topic or list that you want to track that doesn’t fit inside the pages outlined above.
Sometimes you’ll write a note in your Daily Log, and later realize that you want to keep track of more similar things like it. For example, in a Daily Log you might write as a note: – Book to read: Atomic Habits. A couple of days later, a friend recommends some other books to you, and you also want to read those. So, the best plan would be to create a Collection called “Books to Read,” and keep track of your list there, on its own separate page. (Remember to add your Collections to your Index so you can quickly find them later!)
50 Collection Ideas
The possibilities for Collections are endless, and that’s why I’ll now share 50 Collection ideas to spark your imagination! These are some of the Collections I use in my own Bullet Journal, and some that I’d still like to try.
Habit Trackers
- Daily Steps Tracker
- Sleep Tracker
- Monthly Habit Tracker
- Emotion/Mood Tracker
- Reading/Scripture Reading Tracker
- Study Tracker
- Travel Log
Home Organization
- Meal Planning Chart
- Cleaning Schedule
- Grocery Shopping List
- When was the last time I… (for household cleaning tasks)
- KonMari Decluttering Checklist
- Laundry Schedule
- Projects Around the House
Lists
- Inspiring Quotes
- Movies to Watch
- Favorite Songs
- Outdoor Activities in My City
- DIY Project Ideas
- Books to Read/Books I’m Reading
- Online Courses I Want To Take
- Things to Do When I’m Bored
- Recipes I Love Cooking
- TV/Netflix Series to Watch
- Favorite Places to Go with Friends
- Interesting Vocabulary Words
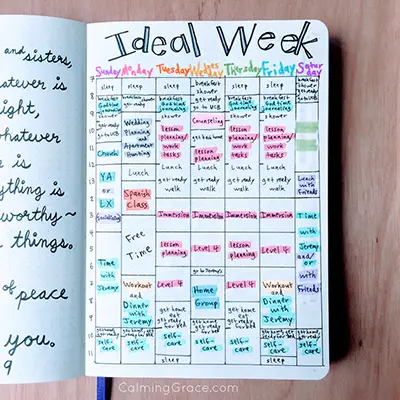
“My Ideal Schedule” Pages
- My Ideal Workday
- My Ideal Weekend
- My Ideal Week
- My Morning Routine
- My Bedtime Routine
Personal Finance
- Monthly Budget
- Spending Log
- Gifts to Buy (Especially useful for Christmas!)
- Things I’m Saving Up For
- No Spend Month
- Debt Payoff Tracker
Mental Health
- Encouraging Quotes
- Meditation Guide
- Self-Care Menu
- Things I Know to Be True
- Mindfulness Reminders
- How to Relax when I Feel Anxious
Health
- Healthy Meal Ideas
- Diet Tracker
- Medications
- Exercise Tracker
- Period/Fertility Tracker
- Daily Water Intake
- Stretches for Good Posture
I hope this complete guide to setting up your Bullet Journal and these 50 collection ideas were helpful to you!
Do you need a step-by-step guide to setting up your Bullet Journal? Do you want to learn how to use it to clear and calm your mind? Sign up for my free 5-day email course, where I’ll guide you through starting your Bullet Journal and using it for mental clarity:
Ready to go deeper in Bullet Journaling? Check out these articles next:
- 10 Signs You Should Use a Bullet Journal for Mental Clarity
- How to Use a Bullet Journal as a Student: 6 Steps to Plan Your Semester
- What Are the “Bullets” in a Bullet Journal?

P.S. Don’t forget to save this post for later on Pinterest:
This article contains affiliate links. As an Amazon Associate I earn from qualifying purchases. If you buy something using the links, I may earn a commission at no extra cost to you. Read the full affiliate disclosure.